We are going to achieve following tasks using GitLab’s CI/CD
1. Once the code is pushed into repository, make the runner build our application’s Docker container.
2. Once the container is built, push to our project’s GitLab registry.
3. Deploy the container to our production server.
To achieve these tasks, follow the steps below.
Step 1 Create a gitlab Runner
Go to your project repository in gitlab. Open settings > CI/CD > Runners. Here you can create runner for your process. to install gitlab runner on your linux system, follow the guide.
Step 2 Configure gitlab-ci.yml file
Create a .gitlab-ci.yml file in root directory of your project and push the file into repository. Here is the example of .gitlab-ci.yml file
variables:
TEST_BUCKET: “mar-now-test”
stages:
– lint
– unit
– build
– deploy
lint:
stage: lint
image: node:8.9
tags:
– docker
script:
– npm install
– npm run lint
cache:
paths:
– node_modules/
unit:
stage: unit
image: node:8.9
tags:
– docker
script:
– npm install
– wget -q -O – https://dl-ssl.google.com/linux/linux_signing_key.pub | apt-key add –
– echo “deb http://dl.google.com/linux/chrome/deb/ stable main” > /etc/apt/sources.list.d/google.list
– apt-get update -y
– apt-get install -y google-chrome-stable xvfb
– xvfb-run -a npm run test:ci
cache:
paths:
– node_modules/
build-dev:
stage: build
image: node:8.9
tags:
– docker
script:
– npm install
– npm run build:dev
cache:
paths:
– node_modules/
artifacts:
expire_in: 1 week
paths:
– dist/*
only:
– master
deploy-dev:
stage: deploy
image: python:latest
tags:
– docker
dependencies:
– build-dev
script:
– pip install awscli
– aws s3 cp ./dist s3://$TEST_BUCKET –recursive –acl public-read
environment:
name: development
only:
– master
The stages property simply allows you to define the order in which the jobs should be executed. In this instance, the jobs are “build” and “deploy”. You could name these anything you’d like. Generally, you’d have a “test” job as well to handle your functional and unit tests and maybe a specific job for building a staging container.
Step 3 Deployment
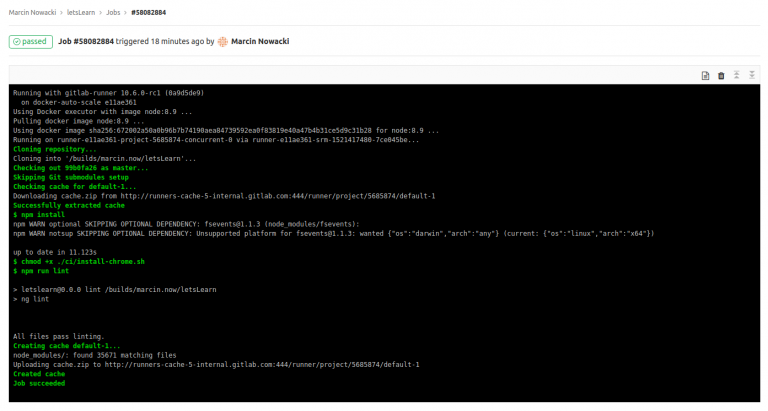
status of Pipeline
If you have successfully set up the Runner, you should see the status of the last commit change from pending to running, passed or failed.[/ra_section_title]


